Looking for a DIY toddler bed? Create a custom and budget-friendly toddler bed with these simple steps.
Table of Contents
DIY projects can be a fun and cost-effective way to meet your child’s sleeping needs. Building a toddler bed allows you to personalize it to match your child’s style and personality while staying within your budget. With just a few materials and basic tools, you can create a safe and comfortable sleeping space for your little one.
Whether you’re a seasoned DIY enthusiast or a beginner, this guide will provide step-by-step instructions to help you create the perfect DIY toddler bed. Let’s get started!
Choosing The Right Materials
Choosing the ideal materials is crucial when building a DIY toddler bed. Opt for sturdy and non-toxic materials to ensure safety and durability for your little one’s peaceful sleep.
Introductory Paragraph: Choosing The Right Materials
When it comes to building a DIY toddler bed, one of the most important considerations is choosing the right materials. The materials you select will determine the durability, safety, and overall look of the bed. In this article, we will discuss three key aspects of choosing the right materials for your DIY toddler bed: wood, paint, and finishes. Let’s dive in!
Wood
Wood is an excellent choice for building a sturdy and safe toddler bed. You want to ensure that the wood you choose is strong enough to support the weight of your child and withstand daily wear and tear. There are a few types of wood that are commonly used for DIY projects like this:
- Hardwoods: Hardwoods like oak, maple, and birch are known for their durability and strength. They are less likely to dent or splinter, making them a great option for a toddler bed that will withstand rough play.
- Plywood: If you’re looking for a more affordable alternative, plywood can be a good option. It’s a strong and stable material that comes in different grades. Opt for a higher-grade plywood to ensure better quality.
Before purchasing the wood, make sure to measure the size requirements of your toddler bed and consider any design elements you plan to incorporate. Always choose wood that is smooth and free of any cracks or defects to avoid potential hazards.
Paint And Finishes
Painting your DIY toddler bed is a great way to add a touch of personality and make it more appealing for your little one. However, it’s crucial to choose the right paint and finishes that are safe for your child. Here are a few tips to guide you:
- Non-toxic Paint: Look for water-based or milk paint options that are labeled as non-toxic and VOC-free. These paints have a lower risk of emitting harmful fumes or chemicals that can be dangerous for your child’s health.
- Durable Finishes: Applying a durable finish to your toddler bed is essential to protect the wood from stains, scratches, and moisture. Consider using a non-toxic polyurethane or a child-safe, food-grade beeswax finish for added protection.
- Smooth Surfaces: Ensure that the painted surfaces are smooth and free of any rough edges or splinters. Sanding the wood before applying paint and finishes will help achieve a safe and comfortable surface for your child.
Remember, always allow sufficient time for paint and finishes to dry completely before allowing your child to use the bed. This will avoid any potential ingestion of harmful substances or exposure to strong fumes that may be present during the drying process.
Designing The Bed
When it comes to designing a DIY toddler bed, there are several important considerations to take into account. The design of the bed plays a crucial role in ensuring the safety and comfort of your little one while also adding a touch of creativity to their sleep space. From the size and dimensions to safety considerations, every aspect of the design should be meticulously planned to create a sturdy and secure sleeping environment for your toddler.
Size And Dimensions
When designing a DIY toddler bed, determining the appropriate size and dimensions is vital for creating a comfortable and practical sleeping space for your little one. The standard mattress size for a toddler bed is 28 x 52 inches, so it’s essential to ensure that the bed frame and structure are built to accommodate this mattress size. Consider the available space in your toddler’s room and factor in any future growth when determining the dimensions of the bed.
Safety Considerations
Ensuring the safety of the DIY toddler bed is of utmost importance. When designing the bed, it’s crucial to prioritize safety considerations such as sturdy construction, rounded edges to prevent injuries, and secure railings to prevent accidental falls. Additionally, the use of non-toxic materials and child-safe finishes should be incorporated into the design to create a safe sleeping environment for your toddler.
Building Process
Building your toddler bed can be a rewarding and cost-effective project that allows you to create a unique and personalized sleeping space for your little one. In this section, we will guide you through the step-by-step building process, covering everything from cutting and sanding to assembly and joinery, as well as adding support and reinforcements.
1. Cutting And Sanding
Start by gathering the necessary materials for your DIY toddler bed project, including plywood, screws, a saw, and sandpaper. Measure and mark the dimensions of the bed frame on the plywood with a pencil, ensuring to leave enough space for the mattress. Carefully cut the plywood using a saw, following your marked lines.
Once the frame pieces are cut, it’s time to smooth out any rough edges and create a polished finish. Grab your sandpaper and gently sand the edges and surfaces of each piece, removing any splinters or imperfections. Sanding not only ensures a safer and more comfortable bed for your toddler but also allows the paint or finish to adhere better.
2. Assembly And Joinery
Now that you have your bed frame pieces cut and sanded, it’s time to assemble them. Lay out the pieces on a flat surface and start attaching them together using screws or dowels. Make sure to refer to your design plans or measurements to ensure proper alignment and positioning.
When joining the frame pieces, it’s essential to use sturdy joints that will withstand the active movements of a toddler. Reinforce the joints with additional screws or dowels, providing extra stability and preventing any wobbling or potential hazards. It’s always a good idea to double-check your work and ensure all connections are securely fastened before moving on.
3. Adding Support And Reinforcements
To ensure your toddler’s safety and the longevity of the bed, it’s important to add support and reinforcements. Attach additional wooden slats or a support beam across the frame to provide extra stability and distribute the weight of the mattress evenly.
Consider using corner braces or brackets to reinforce the corners of the bed frame, preventing any potential stress points or weakening over time. These small but crucial additions can significantly enhance the durability and overall structural integrity of the bed.
Once you have completed these steps, your DIY toddler bed is ready to be painted or decorated according to your preference. Remember to use child-safe paints and finishes and allow sufficient drying time before introducing it to your little one’s bedroom. By following this building process, you can create a sturdy and stylish toddler bed that your child will love for years to come.
Personalizing The Bed
Now that you have successfully built a DIY toddler bed for your little one, it’s time to add your personal touch to make it truly special. Personalizing the bed allows you to create a unique space for your child that reflects their personality and interests. In this section, we will explore different ways to personalize the bed, including the use of decorative elements, painting, and staining.
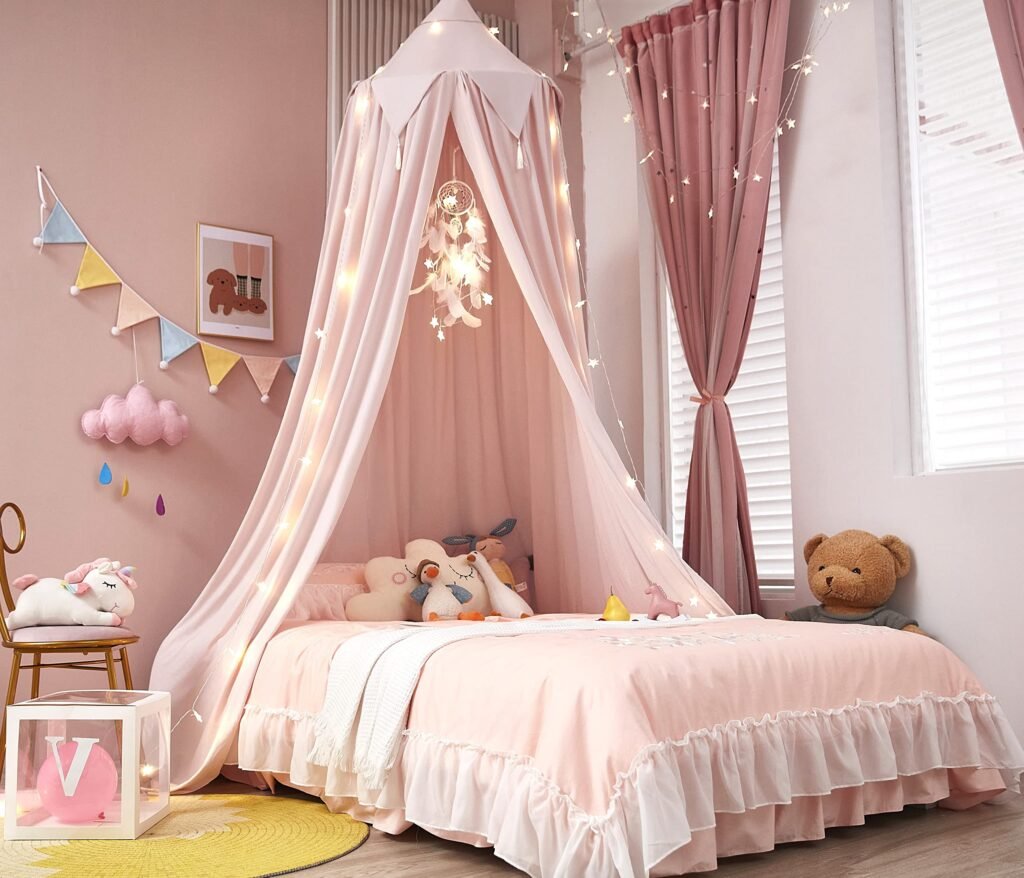
A great way to personalize your DIY toddler bed is by adding decorative elements. These small touches can make a big impact and turn a simple bed into a delightful haven for your child. Here are a few ideas to get you started:
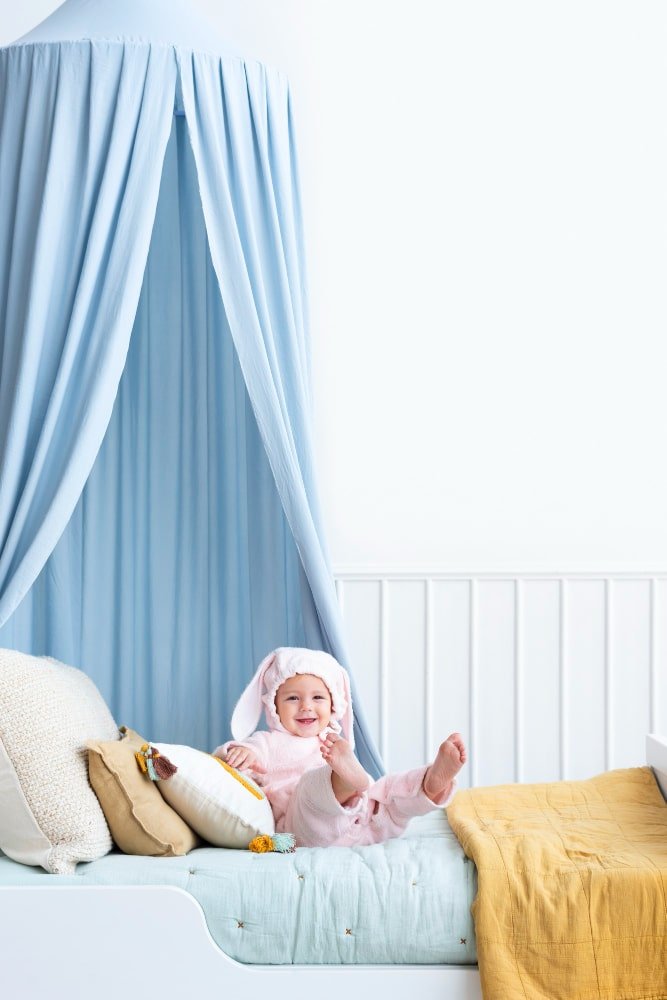
- Hang a colorful canopy or curtains to create a cozy and inviting space.
- Add fairy lights or string lights around the bed frame for a magical touch.
- Use vibrant and whimsical bedding with their favorite characters or patterns.
- Attach a personalized nameplate or sign to make the bed uniquely theirs.
- Decorate the bed frame with stickers, decals, or removable wallpaper.
If you want to take personalization to the next level, consider painting or staining the bed. This allows you to choose colors that match your child’s room or their favorite themes. Here are some tips to keep in mind:
- Lighter colors can make the bed appear larger and brighter, while darker shades offer a cozy and intimate feel.
- Consider using non-toxic, child-safe paint or stain to ensure the bed is safe for your little one.
- Get creative with stencils or masking tape to create fun designs or patterns.
- Opt for a distressed or weathered look by lightly sanding the painted or stained surface.
Maintenance And Safety Tips
Maintaining a DIY toddler bed is crucial for ensuring your child’s safety and the longevity of the bed. By following these maintenance and safety tips, you can keep the bed in optimal condition, providing a comfortable and secure sleeping environment for your little one.
Regular Cleaning
Regular cleaning is essential to prevent the build-up of dust, dirt, and allergens. Use a mild detergent and damp cloth to wipe down the bed frame, mattress, and any fabric components. Ensure thorough drying to prevent mold and mildew growth.
Ensuring Sturdy Construction
Ensuring sturdy construction of the DIY toddler bed is paramount to prevent accidents and injuries. Regularly inspect the bed frame for any loose fittings, sharp edges, or splintered wood. Secure any loose screws or fittings promptly to maintain the bed’s structural integrity.
Regular Safety Inspections
Regular safety inspections are critical to identify potential hazards. Check for any protruding nails, sharp corners, or small parts that may pose a choking hazard. Ensure that the mattress fits snugly in the bed frame and there are no gaps that could entrap your child.
Frequently Asked Questions For Diy Toddler Bed
How Do I Make A Diy Toddler Bed?
Making a DIY toddler bed is a fun and rewarding project. Start by measuring and cutting the wood, then assemble the pieces using screws. Add a mattress and some finishing touches, like paint or stain, to complete the bed.
What Materials Do I Need For A Diy Toddler Bed?
To make a DIY toddler bed, you will need materials like wood, screws, sandpaper, a saw, a drill, and a mattress. You can also choose to add paint, stain, or other decorative elements for a personalized touch.
Are Diy Toddler Beds Safe?
DIY toddler beds can be safe as long as they are built following proper guidelines. Make sure the bed is sturdy, with no sharp edges or loose parts. It’s also important to use non-toxic materials and secure the bed to the wall or floor for added stability.
How Much Does It Cost To Build A Diy Toddler Bed?
The cost of building a DIY toddler bed can vary depending on the materials and tools you already have. On average, the cost can range from $50 to $200, but it’s possible to keep the expenses lower by using recycled or reclaimed materials.
How Long Does It Take To Build A Diy Toddler Bed?
The time it takes to build a DIY toddler bed can vary depending on your level of experience and the complexity of the design. Generally, it can take anywhere from a few hours to a full day to complete the project.
Take your time and enjoy the process!
Conclusion
Building a DIY toddler bed can be a rewarding and cost-effective project for parents. By following the step-by-step instructions and considering safety measures, you can create a personalized and comfortable sleeping space for your little one. With adequate research and creativity, the process can be both enjoyable and functional for your child.